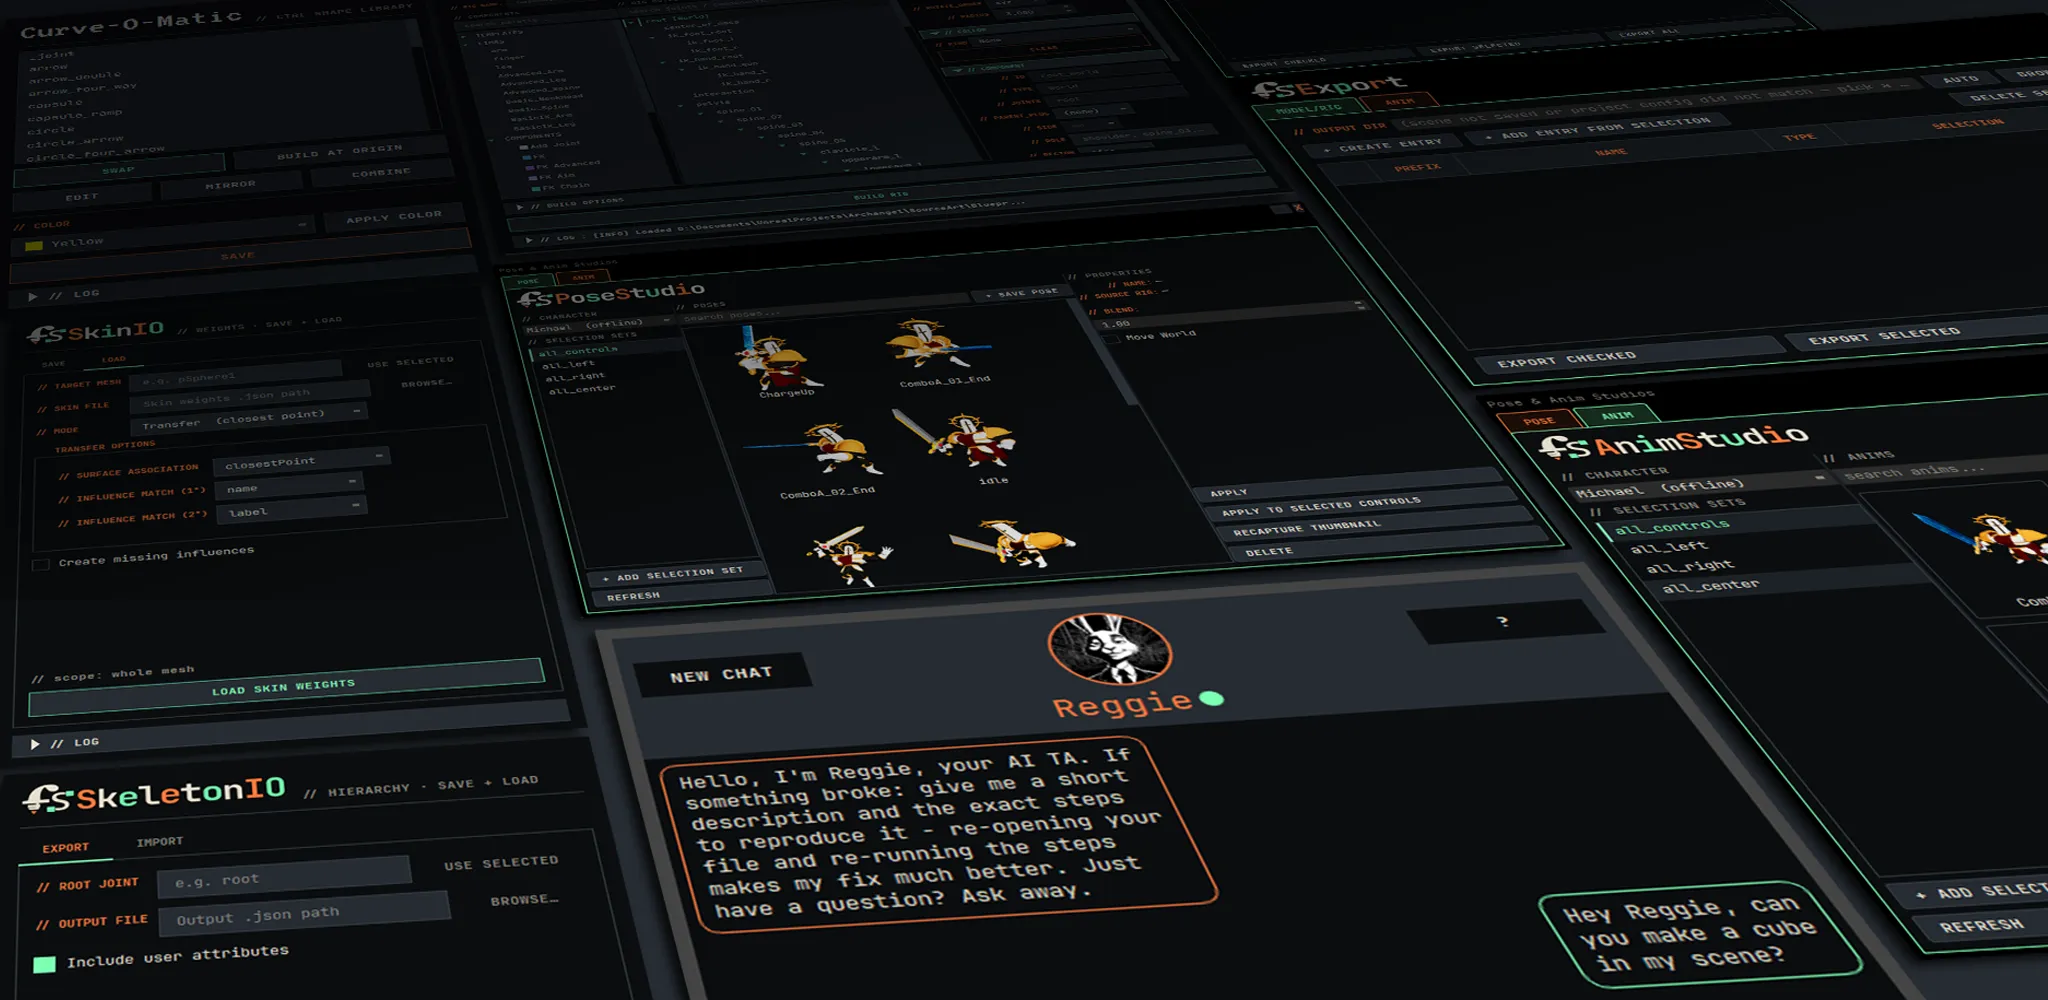


ComboA_01
A complete Maya to Unreal character pipeline. Modular rigging, automatic skinning, a cross-rig pose and animation library, and FBX exporters with an engine-ready contract. Pure Python, source available, nothing to compile, nothing hidden.
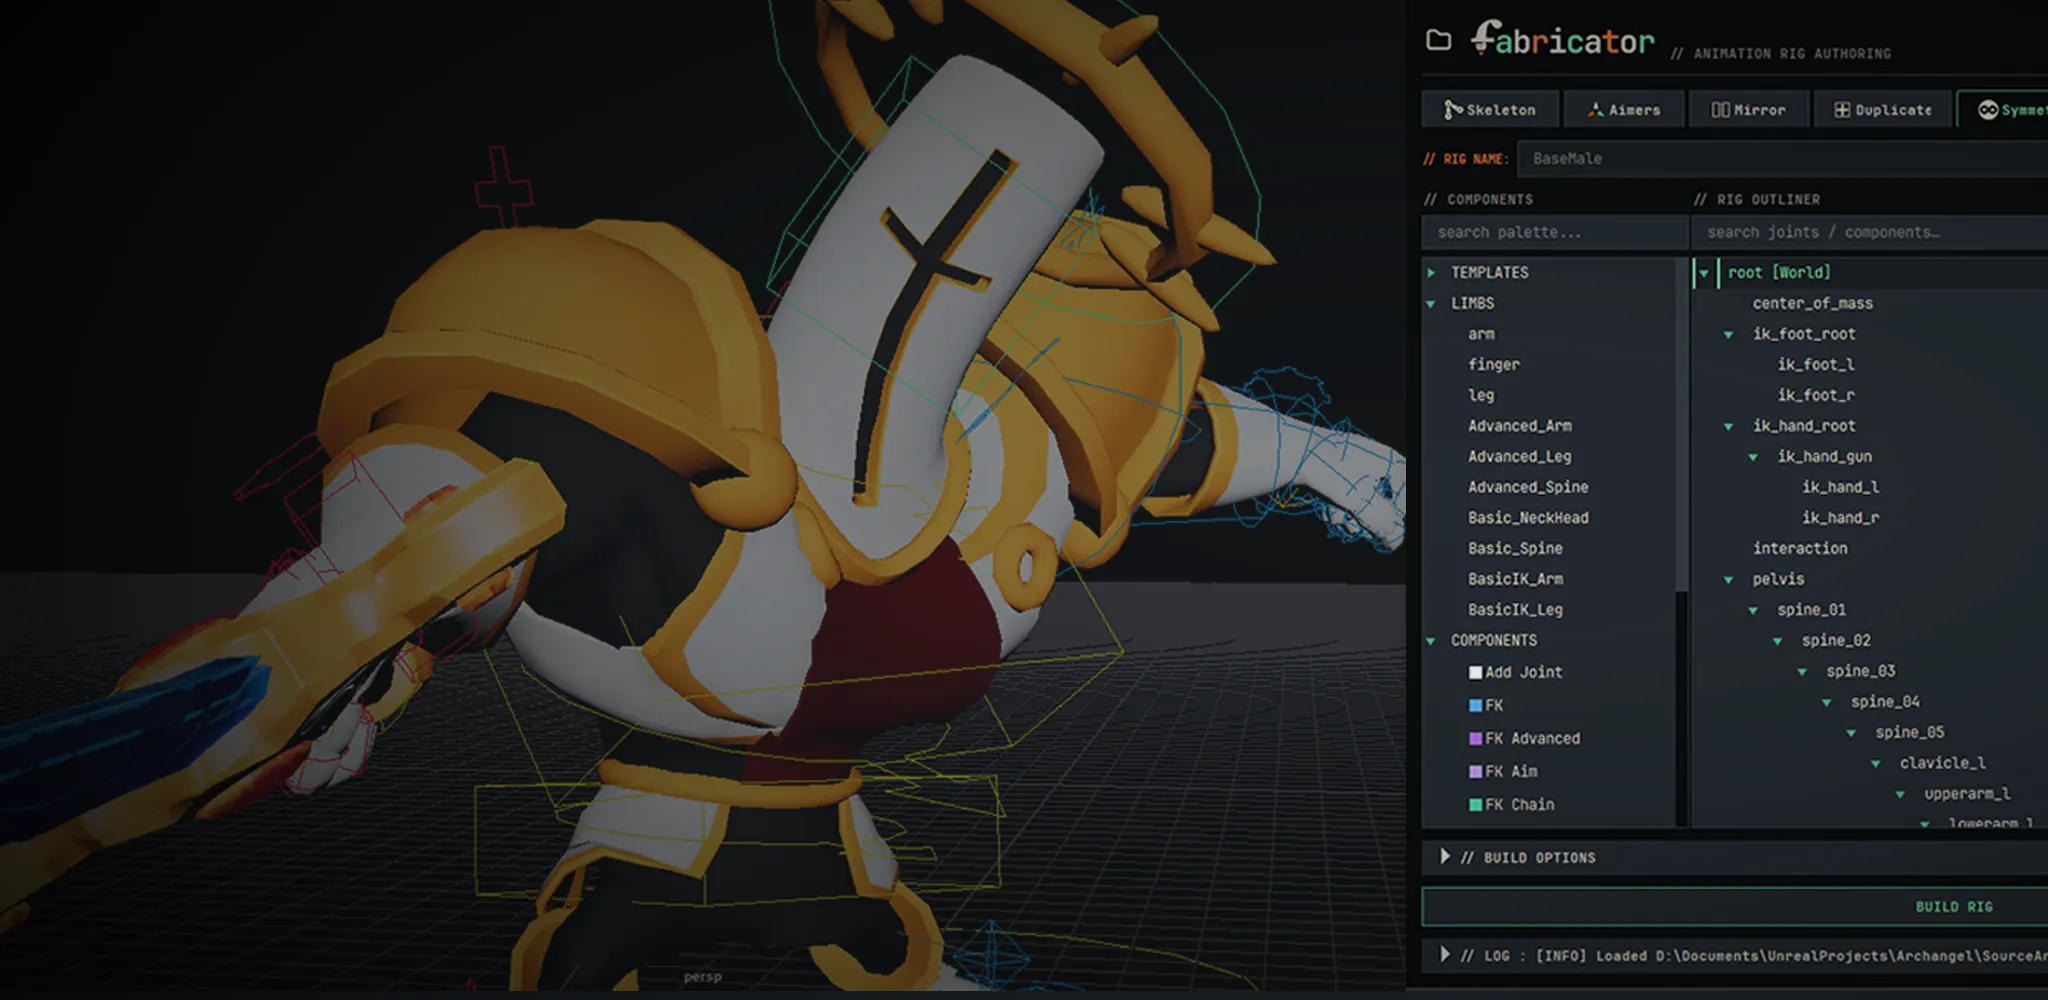
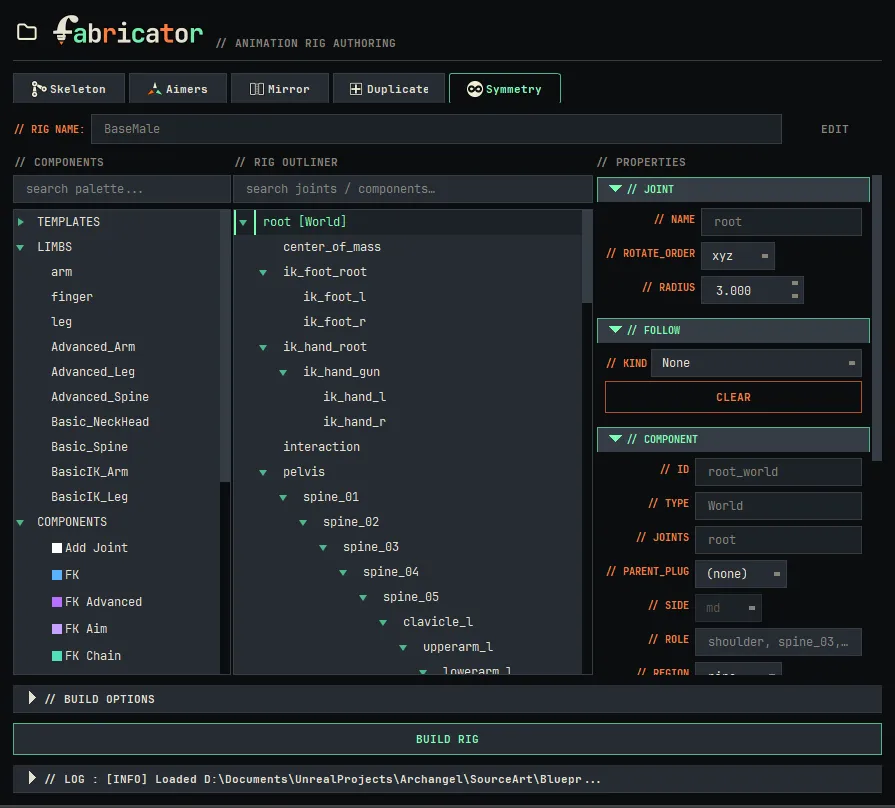
A network-driven modular rigging system. Auto-orienting joints. Save blueprints of full rigs and share them on differently proportioned characters. Animation transfer-ready. Building-block interface, drag and drop rig components onto the outliner to build up your skeleton and rig. Every stage is undoable and edits are unlimited.
Build next-gen rigs, with all the features animators love, and ready for all the advanced animation features in engine.
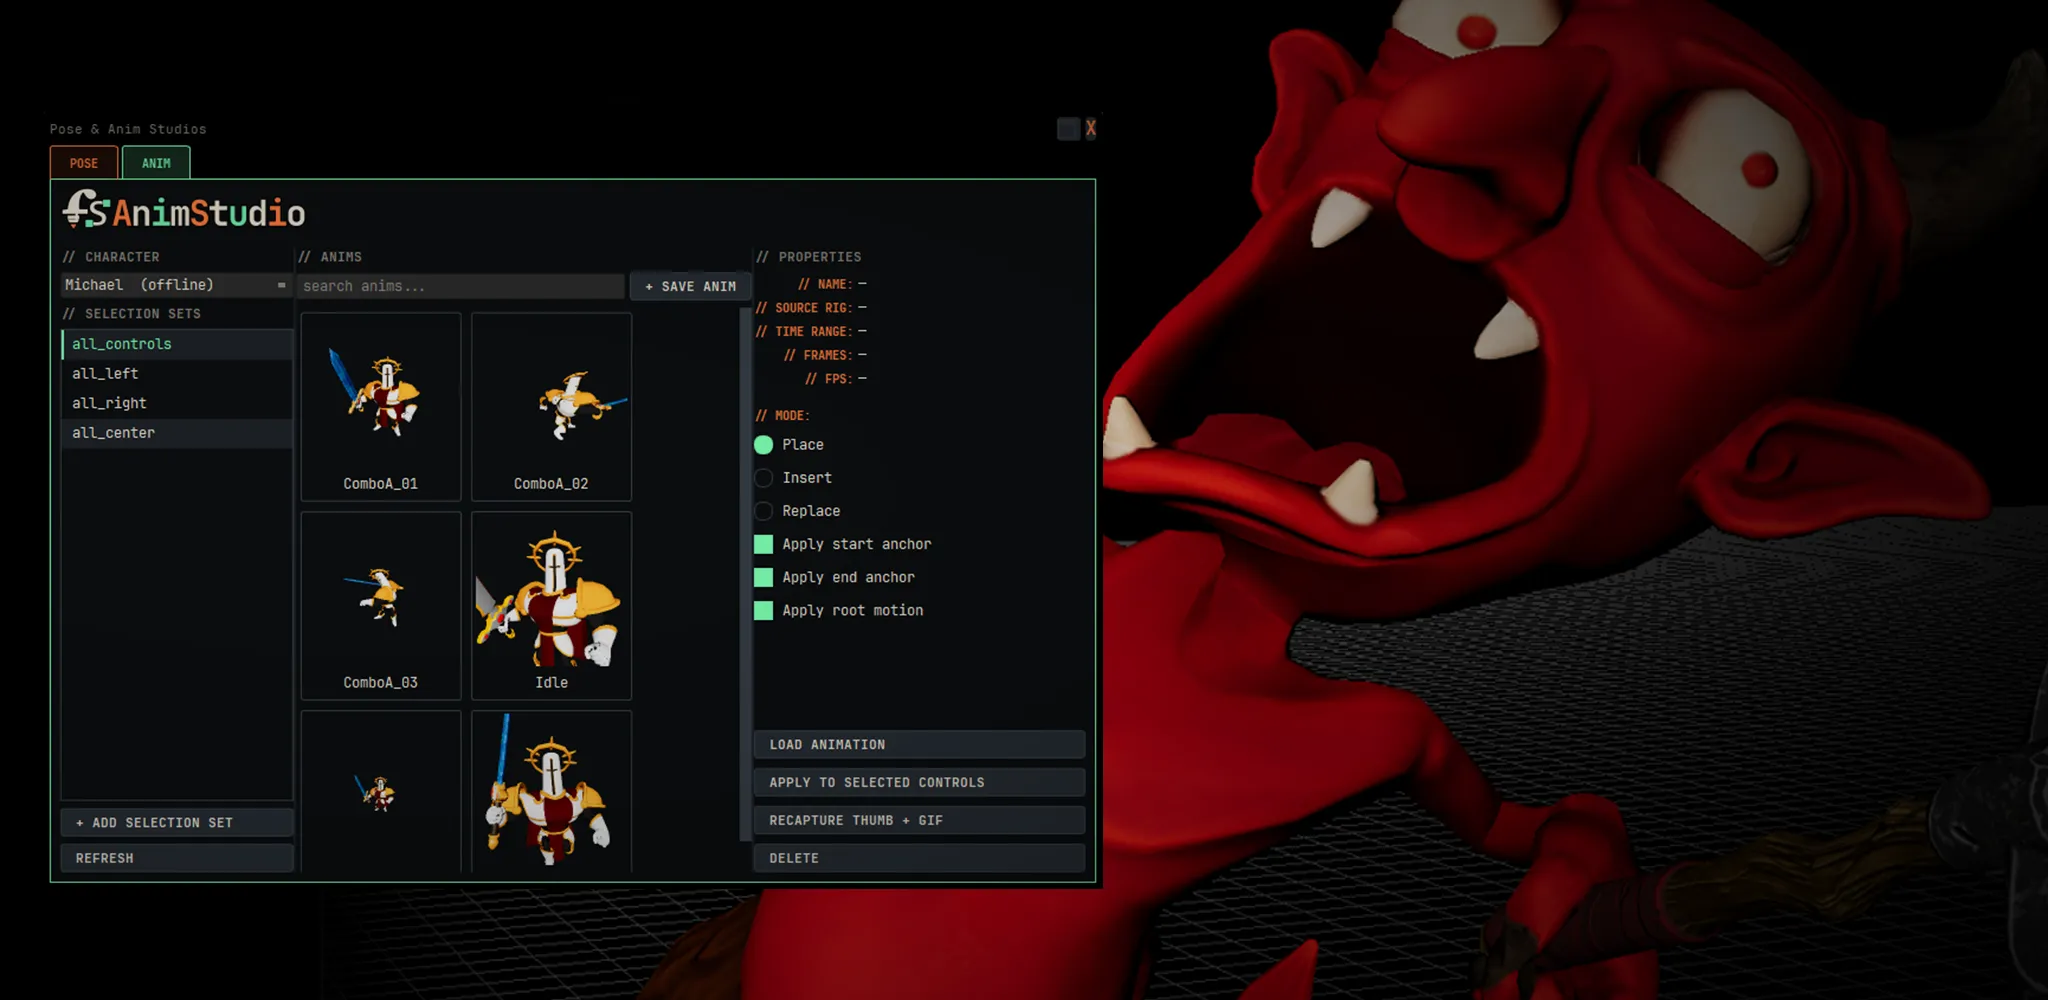
Animations & Poses saved to the library for easy access in other animation scenes. Save once, reuse on the next character. Selection sets filter your controls and mask an imported pose or animation down to just the parts you choose.
Build your library once, and every new character starts ahead.
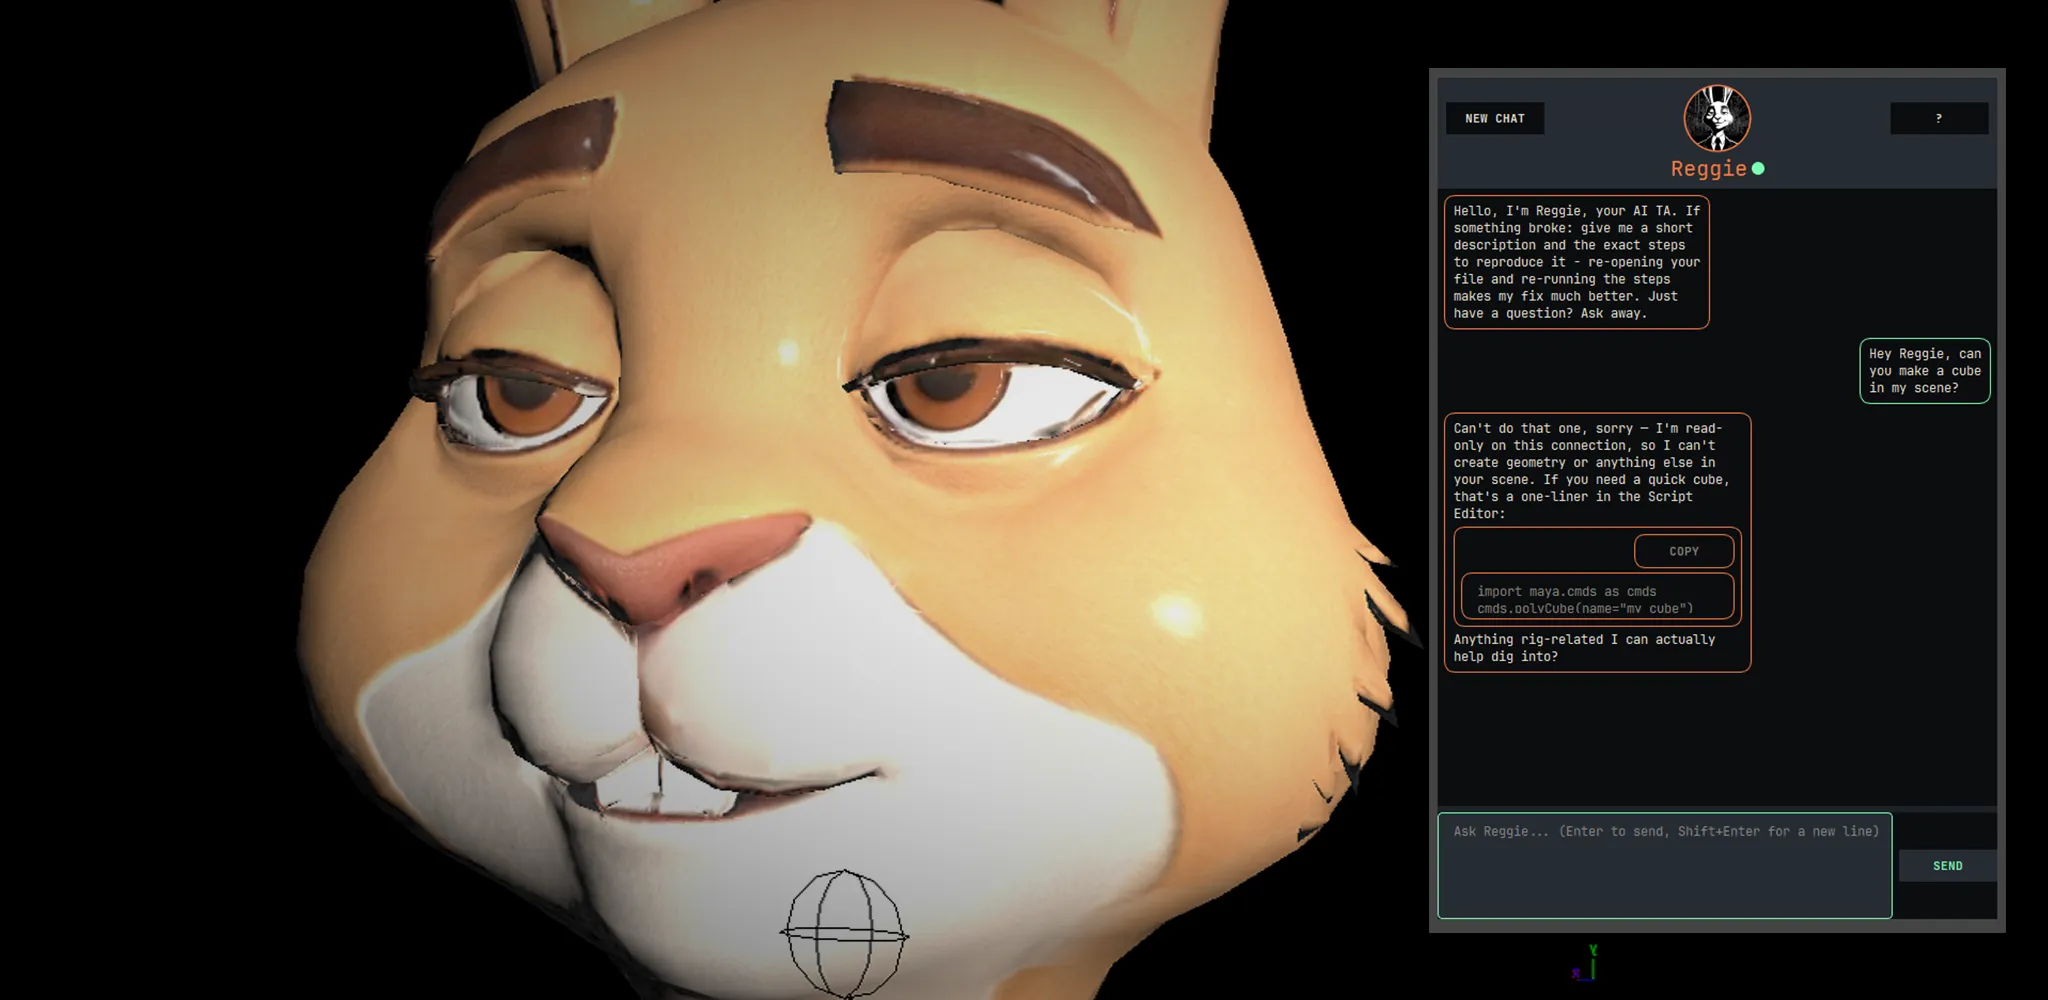
Connect your own AI and it turns into Reggie, the AI TA on call and trained on the FabricatorStudio Pipeline. Your AI TA proposes the fix and walks you through it. It can also report bugs directly to FabricatorStudio, pre-filled and ready to submit. Read-only, enforced in code. Automation-ready APIs to cover the rest of your workflow.
Like having a senior TA on call, minus the coffee runs.
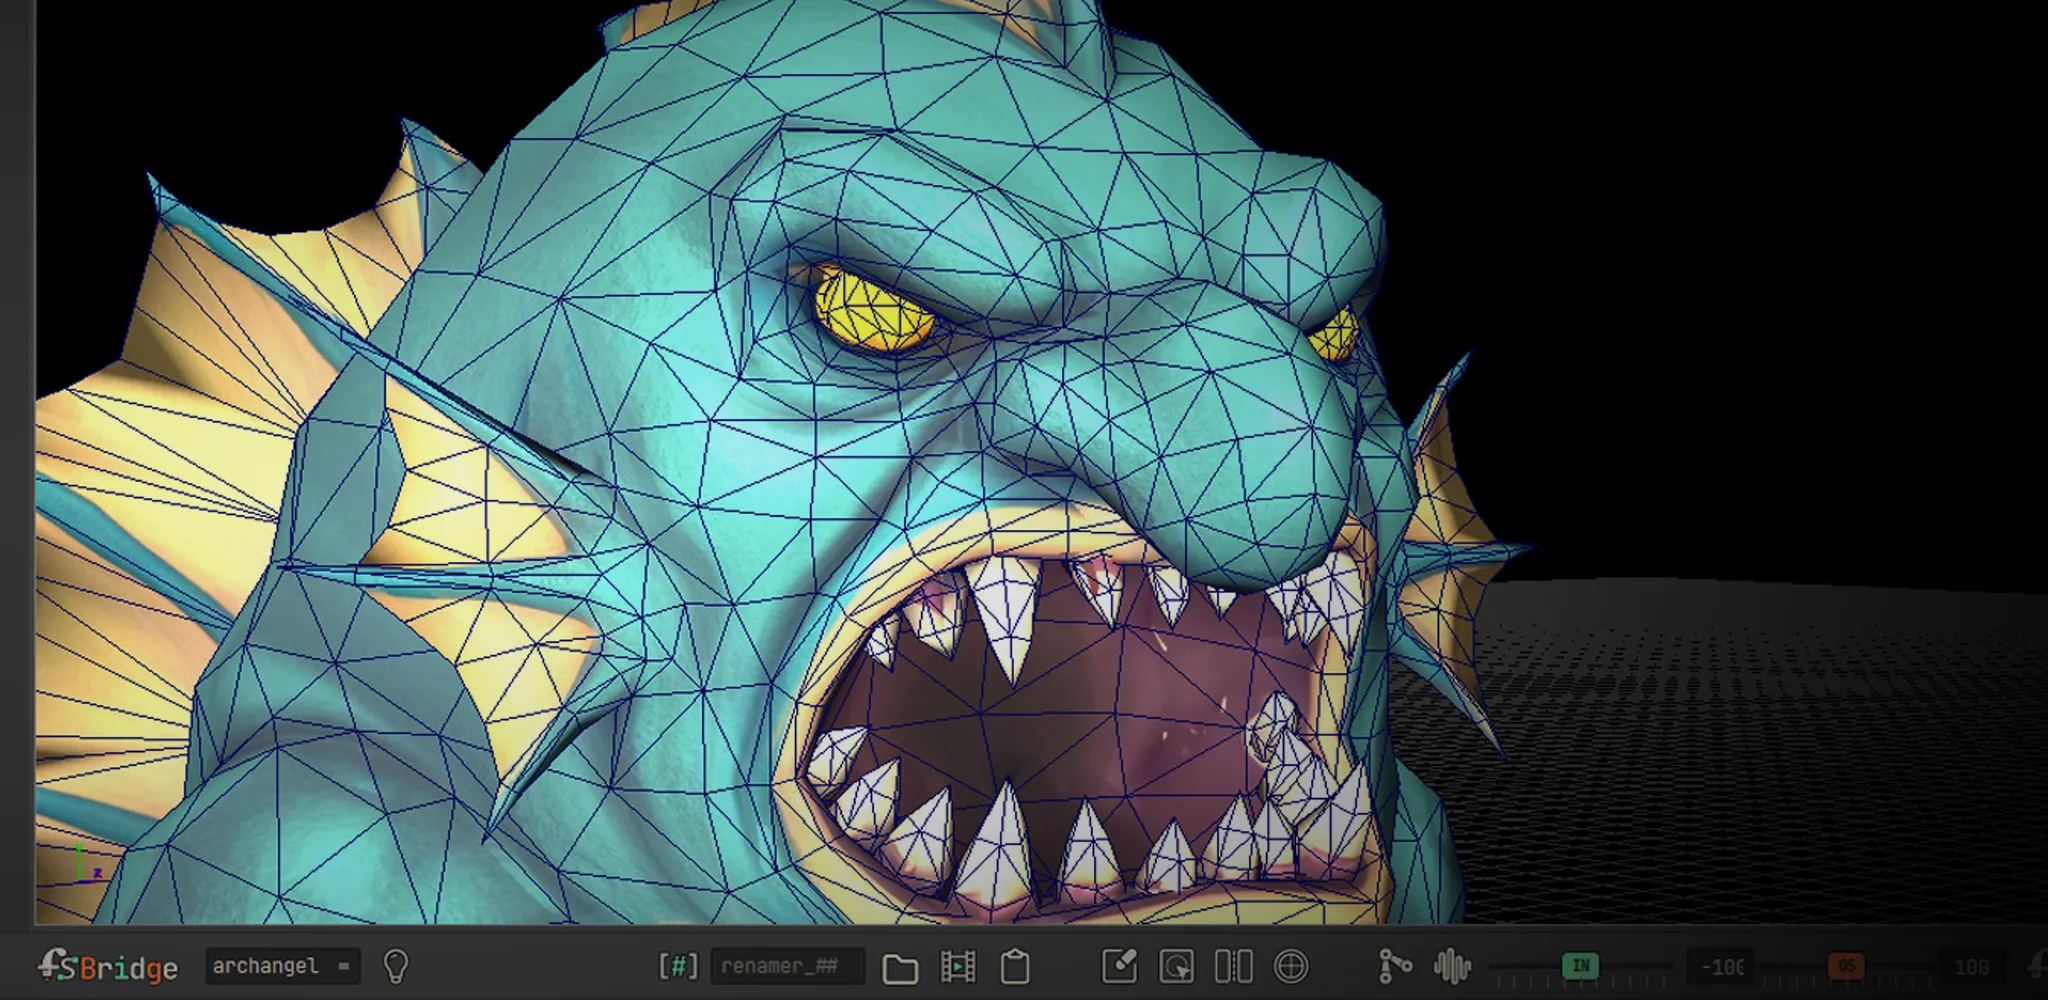
Bridge puts the whole FabricatorStudio toolbox into a compact but powerful toolbar inside Maya. Launch the big tools, fire the everyday utilities, and stay focused instead of hunting through shelves and menus.
Built for the way technical artists and developers actually work.
The one paid part of the toolset, and it is a feature, not a tier.
Ribbon-tech spine, arm, and leg. The deformation upgrade that sits on top of the free limbs, for the shoulders, hips, and spines that have to hold up in close-up.
Ribbon rigs animate for everyone. If someone hands your animators a character built with these modules, it works, with nothing installed and nothing to buy. The deformation is baked Maya nodes. You need the modules to build and edit ribbon components, not to use a rig that has them.
Paid for everyone, at any studio size. This is a feature you add, not a corporate tier. The revenue threshold below is a separate thing and it covers the whole toolset.
And the other axis, which has nothing to do with the modules above: whether your organization owes anything for the toolset at all. That is decided by revenue, and for most people reading this the answer is no.
If your studio makes under $2 million a year, everything here is yours. Use it in production, ship your game, use it on client work, and keep it forever.
Above $2 million, one flat license covers your whole studio, and it scales with your revenue, so it stays small when you're small.
One flat fee for the whole studio, no per-seat math.