One button that skins your character for you. Pick the joints and the mesh, press Bind Skin, and AutoSkin works out the weights.

What it does
One button and one checkbox
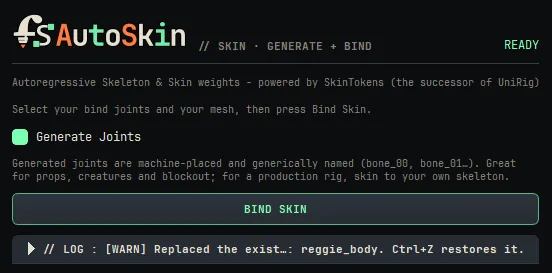
AutoSkin skins your mesh for you. Pick your bind joints and your mesh, press Bind Skin, and a smart engine works out the skin weights and puts them on. It can even build the skeleton for you if you do not have one yet. It is one button and one checkbox.
You get:
A full skin in about two minutes, with no weight painting to start from
An optional Generate Joints mode that builds a skeleton from the mesh alone
Any influences you painted by hand and locked left exactly as they are
One Ctrl+Z to undo the whole thing if you do not like it
- 1
Install the engine the first time. AutoSkin tells you if anything is missing before it lets you run.
- 2
Select your bind joints and your mesh, the same as a normal smooth bind, and press Bind Skin.
- 3
Watch it work: it exports, generates, matches to your skeleton, and applies. You can Cancel any time, and Maya never freezes.
- 4
No skeleton yet? Tick Generate Joints, select just the mesh, and press Bind Skin. AutoSkin builds the joints and skins to them.
Bind pose first
Put your rig back at bind pose before re-skinning something that is already skinned. AutoSkin reads the rest shape, so skinning over a pose would bake that pose in.
Fail loud, never bad
Make sure the mesh actually sits on the skeleton and your joints all have different names. If not, AutoSkin stops and tells you instead of making a bad skin.
Locked means kept
Locked influences are treated as "leave this alone" and kept exactly. Unlock any you want AutoSkin to weight for you.
Local, on your GPU
It runs on your GPU, takes about two minutes per mesh, and never touches your original mesh while it works.